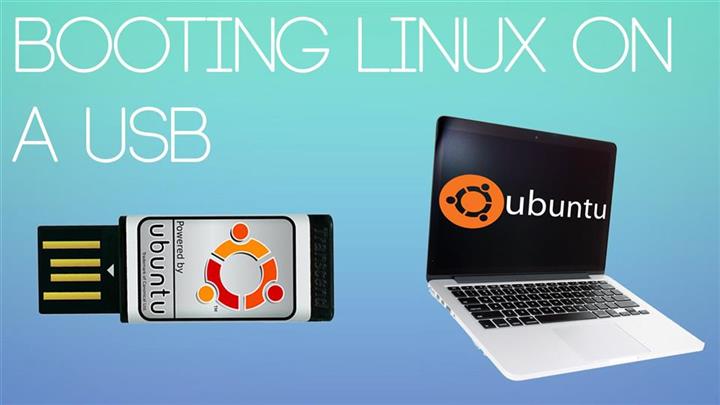
A Live Linux bootable USB device is a device that can be used to boot into Linux without having to go through the hassle of installing the OS. It can be used as an emergency backup or for testing purposes. It can be easily created using some simple steps.
A persistent live USB, on the other hand, is a kind of live USB that has an onboard storage. It is actually a casper–rw file of a maximum 4GB size that gets mounted every time the device boots up. When a persistent USB is used, the user can store files, install apps, and it will all stay saved for the next time the user decides to boot up the USB.
In this tutorial, we will show you how to create a persistent live bootable USB device using both Ubuntu and Windows operating systems.
Creating persistent Linux bootable USB device using Windows
If you are currently on windows and would like to create a Linux bootable USB device to test things out or keep an OS as a backup this part is for you.
Before starting the process, you need to download two things.
LinuxLive USB Creator: This is an open-source tool created just for this purpose. The tool is just 6MB in size and can be downloaded for free from their official website. Download and install that on your Windows PC.
The Linux ISO file: An ISO file is an image file that is used to install an operating system. Most Linux ISO files are free to download and is available readily on the internet. Download the ISO file you want and keep it on your Windows PC. There are several versions, make sure you get a compatible one.
A USB device of at least 8GB memory size.
These are the steps to follow if you are currently using a Windows computer
- Plug the USB device into the computer.
- Open the Linux live creator program on your PC.
- Select the USB device that you would like to use on the topmost step that says “Choose your key”.
- Select the Linux ISO file that you have already downloaded on the next step that says “Choose a Source”,
- Next, Choose the size of storage you would like to have the persistent storage on the “PERSISTENCE” step.
- The maximum possible size is 4GB and you would be better off choosing that. Move the slider to the extreme right.
- Skip the fourth step, nothing to do there.
- Finally, click on the lightning icon on the last step to initiate the process.
The tool will run for some minutes and shows a message -“Your LinuxLive key is now up and ready!” once it completes its task.
That’s all. You can unplug the Live USB Linux device and use it to boot into Linux anytime anywhere. Also, check – dns probe finished no internet
Creating persistent Linux bootable USB device using Linux
These are the steps to follow if you are currently using an Ubuntu [Linux] operating system on your computer:
- Start by inserting the USB device or Optical disk into the Linux computer.
- Tap the super/windows button on your keyboard to open the unity search button.
- In Order to create the persistent device, we will be making use of an app called the “Startup Disk Creator”. Search for it in the unity and open it.
- If the app is not present already in your device, execute the following command in the terminal window
- sudo apt-get install usb-creator-gtk
- This will install the “Startup Disk Creator” application on your computer.
- On the window that opens there are three things to be done.
- The topmost part is where we choose the ISO image file of the Linux distribution that we need. Make sure you have downloaded the correct version for your computer. Press the other button and choose the iso image from your device.
- On the middle part of the window, you can see all of your connected devices listed. You can also see that it shows the capacity as well as free space left to the devices.
- Choose the USB or optical disk you have inserted from the list. Double check that you have made the correct selection.
- Click on the erase disk button.
- Next, choose the radio button that says “Stored in reserved space”.
- Now move the slider to the right to choose how much persistent storage space should exist in the device. The maximum is 4GB, it will be better to choose that.
- Now click on the “Make startup disk” button to finish things off.
After a dozen minutes or so, you can see that the process gets finished. You can now use the created device to boot into Linux and not lose your user data.
Conclusion on Linux bootable usb
That’s it, folks! This is how you create a persistent Linux bootable device easily. Comment down your queries and we will get back to you.


